About Rich Text Elements
A document typically contains some formatted text or "rich" text. In order to add rich text to your iText DITO templates, you need to insert a rich text element. This is a essentially a box in which you can type text and apply formatting to that text. You can insert as many rich text elements as you want in a template.
How to Insert a Rich Text Element?
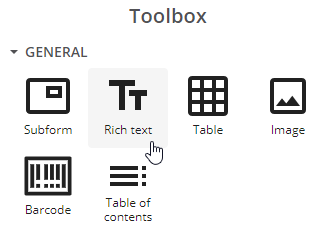
First select an element in the canvas or in the Structure tree. Next, click "Rich text" in the Toolbox. A new rich text element will be added into the selected element or below it.
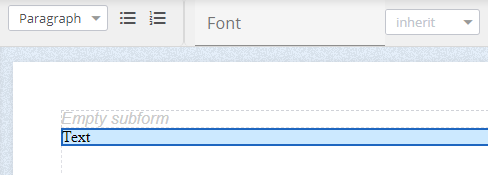
You can now replace the word "Text" and start typing your content.
Properties of Rich Text Elements
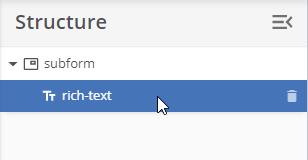
Select a rich element to edit its properties. You can select a rich text element either by clicking it in the canvas or by clicking its name in the Structure tree.
In what follows we will provide an overview of the properties that you can configure for a rich text element.
Base Properties
Anchor
With the anchor property you can insert an anchor that you can use for internal linking. If you insert a hyperlink somewhere else your template, you can make it link to this anchor. The anchor name can be a static value or a value from the data set.
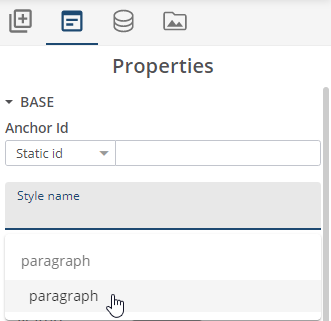
Style
Refer to a style defined in an external or embedded cascading style sheet (CSS). The name of the style should exactly match the name of the style in your CSS file, without the preceding ".".
For example, if you have this embedded style sheet
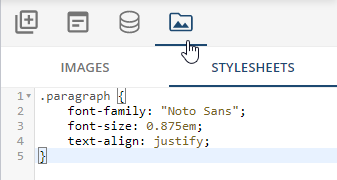
you can refer to the paragraph style like this:
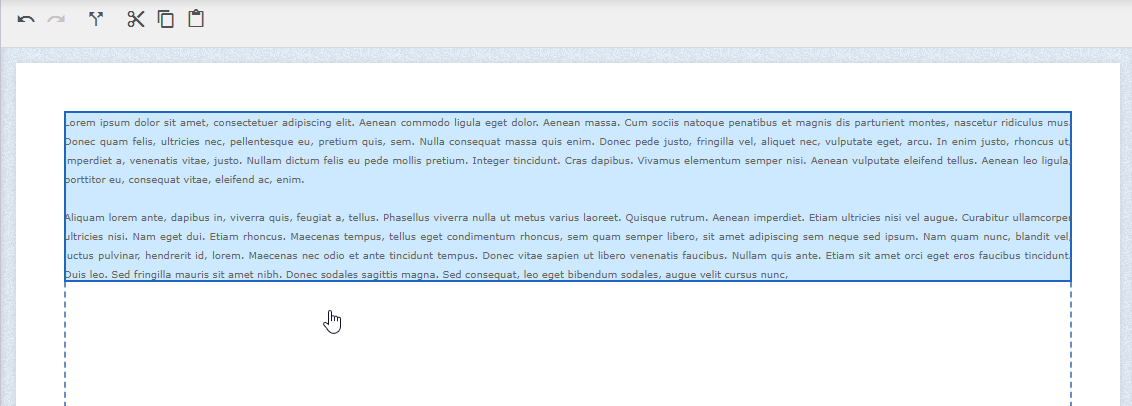
The style will be applied in the canvas in editing mode:
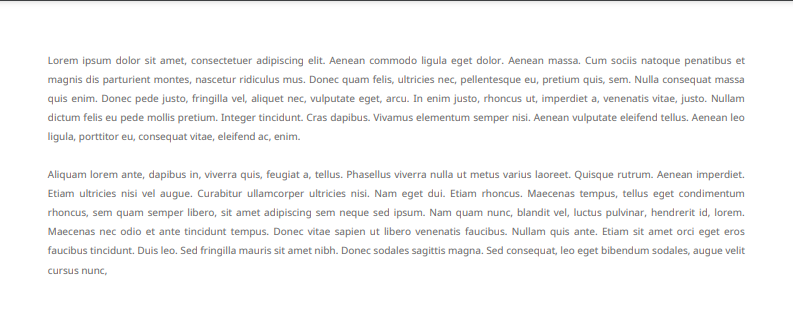
And in preview mode:
Data Properties
In the data properties section of a rich text element you can give the element a new name.
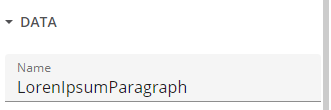
The name will appear in the Structure tree.
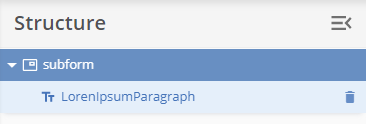
Especially in larger templates, renaming the template elements to something that makes sense from a structure or content perspective may be very useful.
Text Style Properties
In the text style properties section you can define font, font size and font decorations (bold, italic, underline) and font color. Additionally you can set spacing of characters and words.

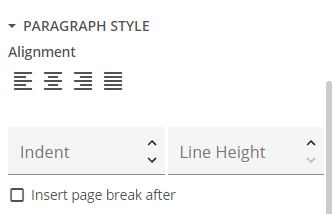
Paragraph Style Properties
Paragraph style properties include the alignment of the paragraph. The options are left, centered, right or filled.
You can also set an indent to let the first line of the paragraph start at a different position (typically a little bit further from the left margin) than the rest of the paragraph.
You can also define the line height of the lines in your paragraph.
Tip
In odd cases the default line height of a font in the canvas may vary a little bit from its default line height in the resulting PDF. That is basically because browsers have a different way of calculating line heights than PDF readers. You can check if that is the case by running a preview. If you see a different line height in the PDF preview, you can adjust it by increasing or decreasing the line height slightly.
Insert Page Break
You can insert a page break by ticking the Insert page break after box.
-
If you tick this box with the rich text element selected, the page break will be inserted after the rich text element.
-
if you tick this box when the cursor is set inside the rich text element, then the page break will be inserted after the paragraph in which the cursor is placed.
-
if a selection is made that spans multiple paragraphs within the rich text element, a page break will be inserted after every paragraph in the selection.
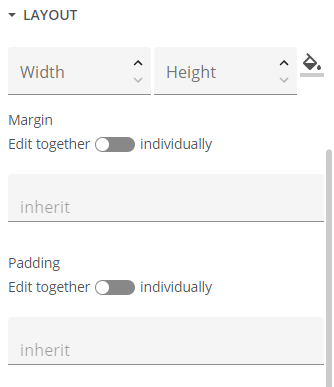
Layout Properties
In the layout properties section you can define the width and height of the rich text element. Other properties that can be configured here are.
-
background color of the rich text element.
-
margin - the distance between the rich text element and the elements around it
-
padding - the distance between the border of the rich text element and the actual text
Both the margin and padding settings can be edited together or individually, setting values for top, right, bottom and left margin/padding.
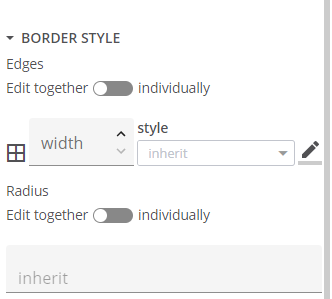
Border Style Properties
In the border style section of the properties you can configure the layout of the edges of your rich text element. You can set width, style, color and radius of borders. All these settings can be applied to all borders of a rich text element or to individual borders.
Properties that Can Be Applied to a Selection of Text
If you click inside a rich text element, you can see a cursor. At that point you can start editing the text in the element. You can also select text by ragging the cursor while keeping the left mouse button pressed down. When you see a cursor or have made text selection, you can set a number of properties that will apply to the selection or to the text you will type at the cursor position.
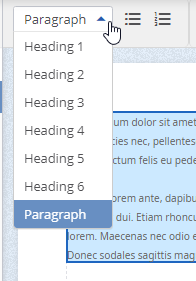
Style
You can choose which style should be associated with the selected block of text. Select the style you want to use from the bar at the top of the screen. There are six predefined heading levels and a paragraph style. All of these headers have predefined formatting settings, which can be changed through the properties panel to the right of the canvas.
PDF/UA
The PDF/UA standard for universal accessibility requires a logical sequence of headings. That means that you cannot skip heading levels as they succeed one another in the template. For instance, the following succession is not a logical succession and will be marked as an issue in PDF/UA mode:
Heading 1
Paragraph
Heading 3
Paragraph
Heading 2
Paragraph
Font, Size and Text Decoration
You can change font, size, decoration and color of selected text at the top of the screen. You can also insert structured or unstructured lists, or show the selected text in subscript or superscript.

PDF/UA
PDF/UA standard for universal accessibility requires that alternative descriptions are filled out. If your template is switched to PDF/UA mode, the compliance assistant will throw a warning for any hyperlinks in your template that don't have an alternative description.
Page Break
You can insert a page break after the current paragraph by clicking the insert page break after box in the right panel.
-
if you tick this box when the cursor is set inside the rich text element, then the page break will be inserted after the paragraph in which the cursor is placed.
-
if a selection is made that spans multiple paragraphs within the rich text element, a page break will be inserted after every paragraph in the selection.

Insert Dynamic Content (Data Bindings, Calculations, Page Numbers)
You can insert dynamic elements inside a rich text element by clicking one of the function icons in the command bar.
There are three types of dynamic elements you can insert in a rich text element:
-
{{x}} - This inserts a data binding.
-
f(x) - This inserts a calculation.
-
{{#}} - This insert either the current page number or the total number of pages. You can make the selection in the right pane that is activated when you insert a page number element.
Conditional Logic
The double arrows icon 
Hyperlink
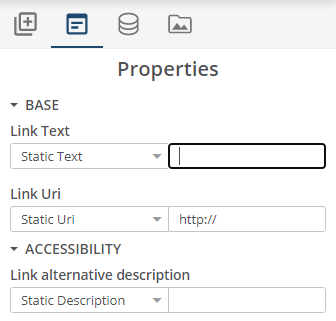
You can insert a hyperlink from the command bar by clicking ![]()
-
Link text: the text that will be shown in the document. This can be static text or a value that comes from a field in the data collection or from a calculation.
-
The link address: the URI or the anchor (a marked location somewhere else in the same template) that the link points to. This can be either a static value or a value that comes from a field in the data collection or from a calculation.
-
You can also add an alternative description. Once again this description can be a static value or come from a field in the data collection.