Creating a Header & Footer
Compared to iText DITO 1.x, in iText DITO 2.x you can now create Header & Footer templates from the Manager component.
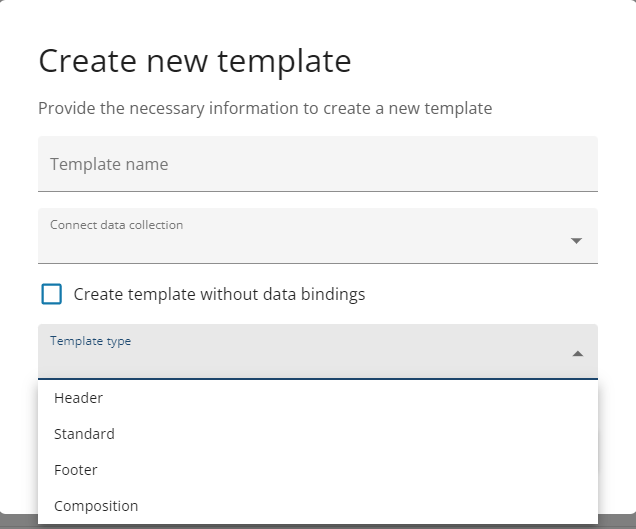
First go to 'Template Management' and select 'Add Template' which will prompt a modal window to open, where you can create a name for your template and select a data collection to bind said template to, but you can also create templates without data bindings.
Then, under 'Template Type', select either 'Header' or 'Footer' depending on your current use case.
You will then be directed to the Editor component of iText DITO, where you can build out and edit your header or footer.
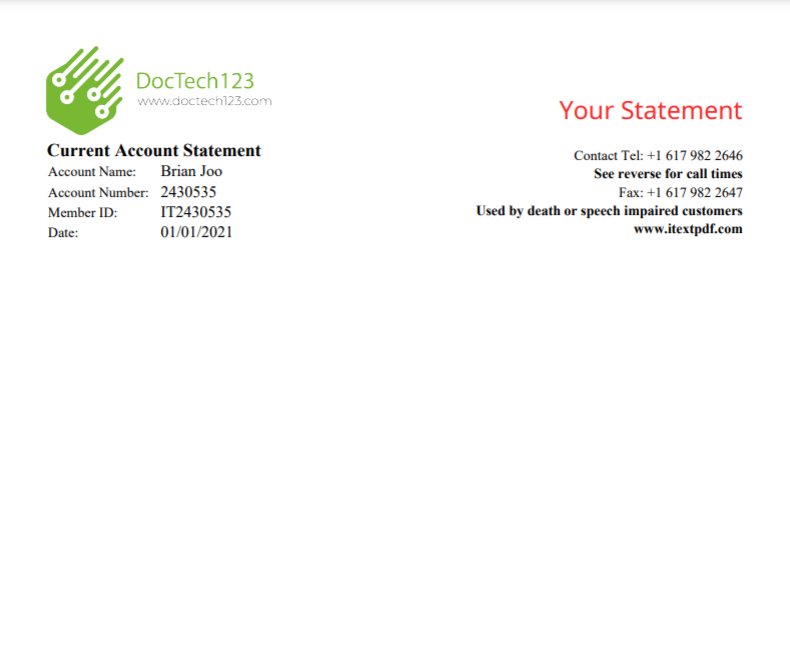
Here are some previews of a header and footer that were created using the Editor:
Header Footer

Once you add a header and/or a footer to create your composition template, it will automatically be placed in the appropriate section within your document.
Below is a preview of a composition template that was created using the header & footer from the above examples, along with a standard template.
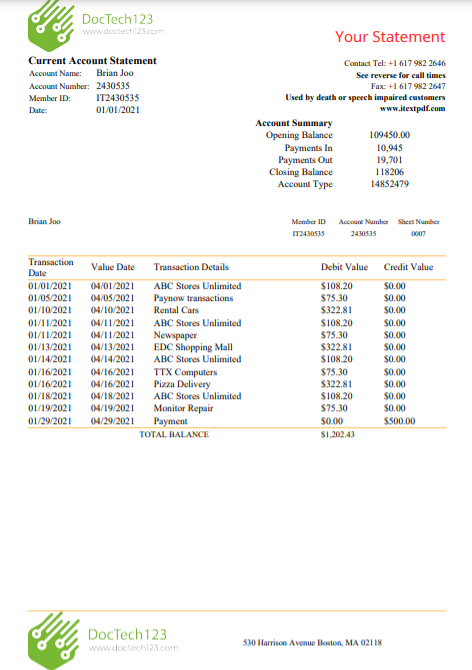
As you can see, even though there is white space after the body portion of the document, the footer is placed at the bottom of the document as it should be.
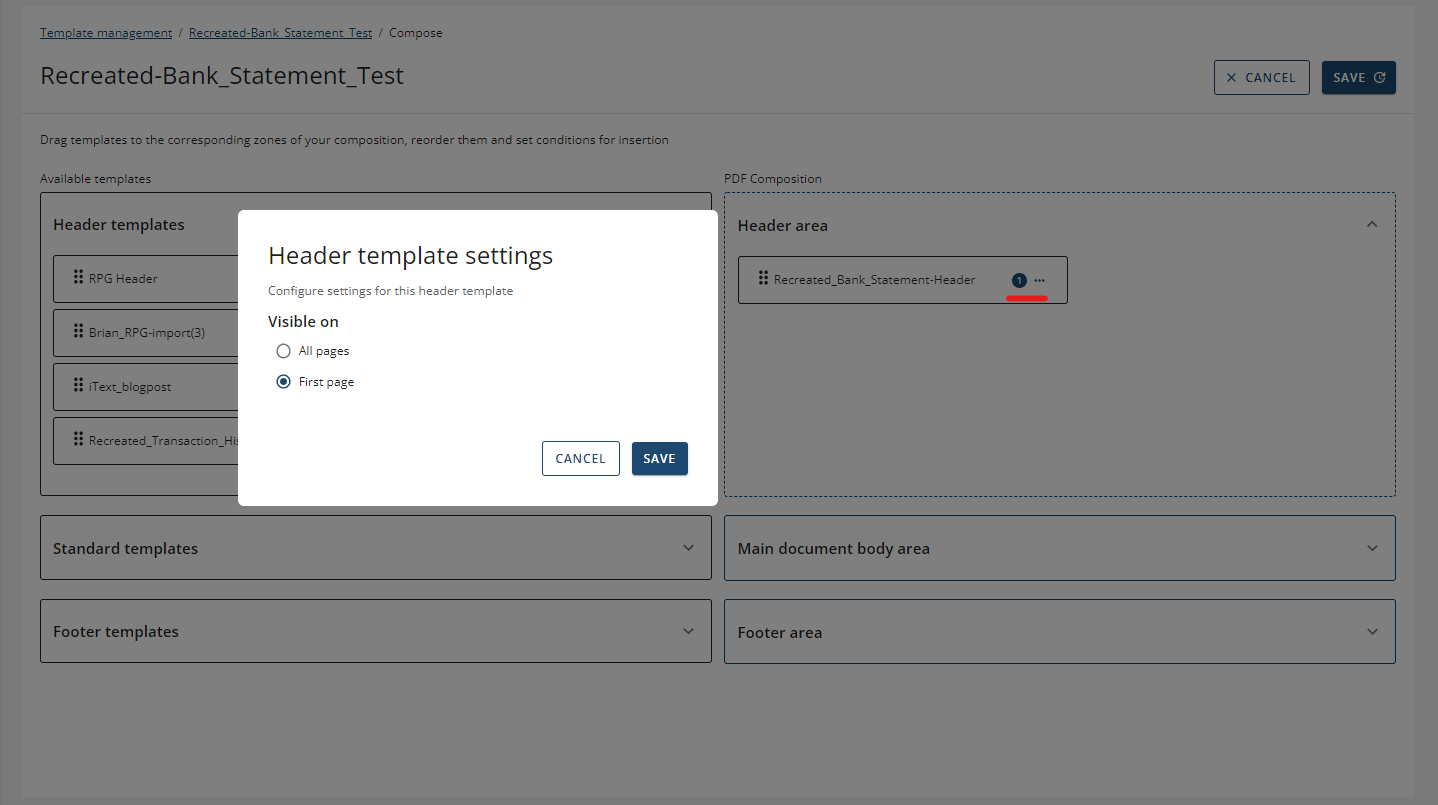
You can also set these headers & footers to appear either on the first page only, or on every page.
You can click on the ellipsis after you move the desired header to the right-hand side (where you include templates that are going to be used to create the composition) and a modal window will open up asking if you want to set it as visible on all pages, or just the first page. When you set a header or footer to appear only on the first page, a number 1 will appear next to the ellipsis to signify that it is set as visible only on the first page. You can visually see the difference below, where in the first image the headers is set to be visible only on the first page and has the number 1 symbol next to it, whereas in the second image the header is set to be visible on all pages.
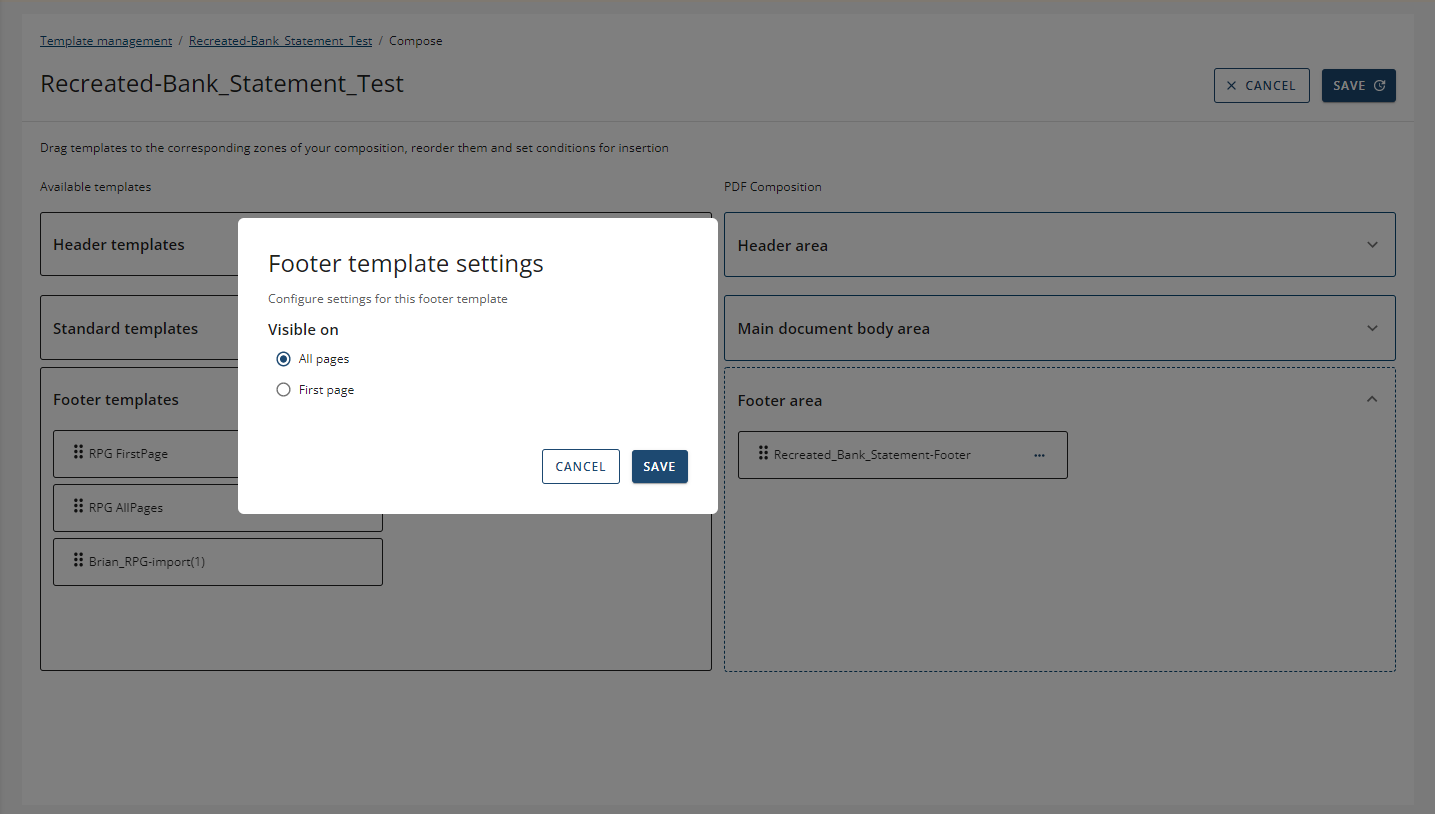
When you click on the ellipsis there will also be an option to either remove a template, or to conditionally insert your header or footer.

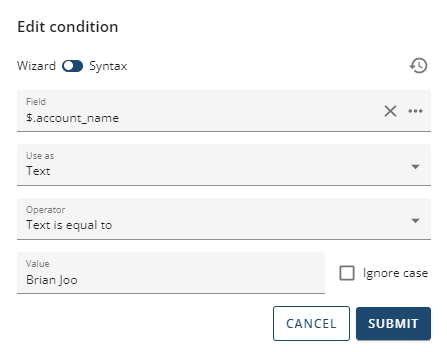
A wizard will open up where you can select the data field you want to evaluate and use it as either a number, text, or Boolean (true & false). You will then select the operator and insert a value to compare it against.
In the example below you can see whether the value of the field {{$.account_name}} is used as text and the text is set to be equal to "Brian Joo". If that condition returns true, then the footer or header will appear in the generated document, if the condition does not return true (i.e. false), it is left out. You can also use the checkbox below to ignore the condition as well.
Syntax mode
For more complex conditions, you can use the syntax mode to write out your condition, it will allow you to insert a data bind by selecting the "{{x}}" symbol and you can insert an operator by clicking on the plus symbol.
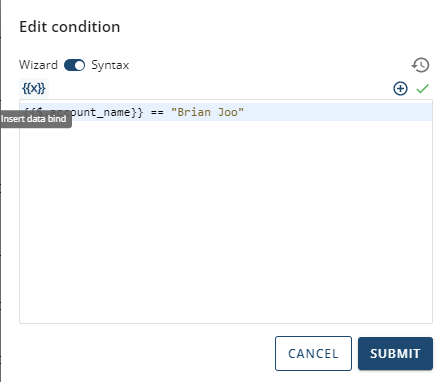
If there is a check mark next to the + symbol on the top right, then that means your expression syntax is valid.
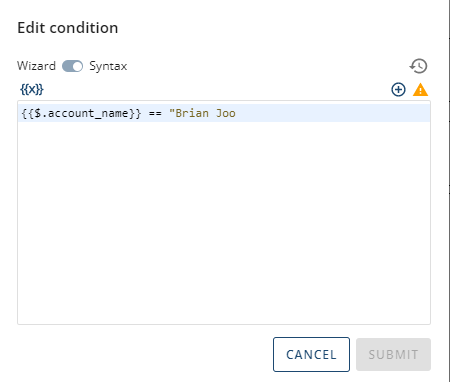
In cases where the expression syntax is not valid or was written incorrectly, then a warning symbol will appear which will not allow you to submit the condition until it is valid.
The great advantage about creating these templates separately from one another is that they can be reused across a variety of different output documents, making your template creation even easier.
You can also update your header/footer templates which will in turn update all templates associated with those headers & footers.