Context
iText DITO comes with a number of pre-installed fonts. If you want to use another font, which is not in the list, you are free to do so. This article explains how you can add a custom font.
Not all fonts are free to use. Please make sure to only use fonts for which you hold a valid use license or which are license-free.
Upload the Font Files as Resources
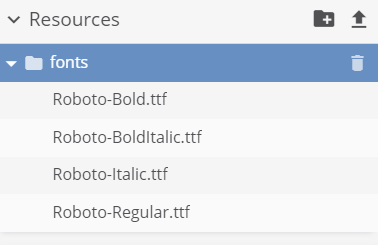
In the Resources panel, upload the individual font files. Please note that iText DITO does not support uploading a ZIP-archive that contains multiple ttf-files. You have to upload the individual files for the supported font faces. Those are;
-
regular
-
bold
-
italic
-
bolditalic
Declare the Fonts in an Embedded Style Sheet
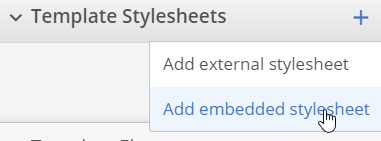
After you have uploaded the font files in the resources panel you can create an embedded style sheet to declare the font. To do so, create an embedded style in the Template Stylesheets panel.
Give your embedded style sheet a name and click the pencil icon to edit it. Insert the following code to declare the font family. Replace the names and file paths.
@font-face {
	font-family:"Roboto"; src: url("resources/fonts/Roboto-Regular.ttf")
}
@font-face {
font-family:"Roboto"; src: url("resources/fonts/Roboto-Italic.ttf");
font-style: italic;
}
@font-face {
	font-family:"Roboto"; src: url("resources/fonts/Roboto-Bold.ttf");
	font-weight: bold;
}
@font-face {
	font-family:"Roboto"; src: url("resources/fonts/Roboto-BoldItalic.ttf");
	font-weight: bold;
	font-style: italic;
}
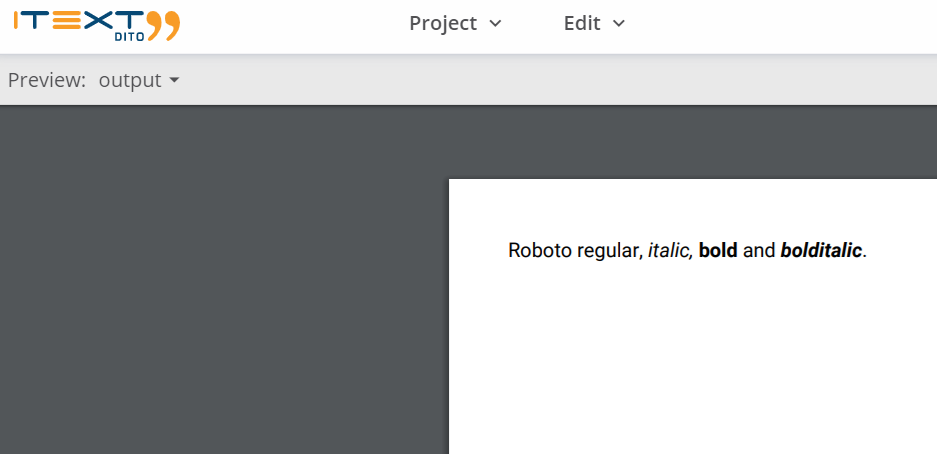
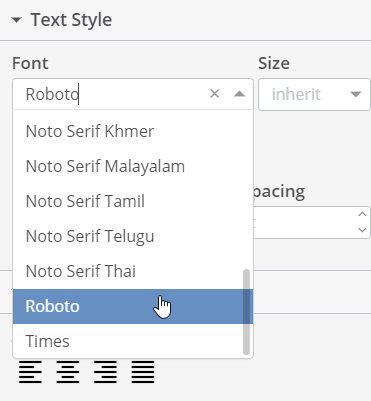
When the font is declared correctly, it will be listed in all font selectors.
You can use the different font faces, as demonstrated by this preview.